Summery Lemon Zest Sugar Cookies {Dairy Free}
6 Aug

Just because it’s August doesn’t mean I’m willing to allow the summering to wind down. Quite the opposite, in fact! I’m diving in even further the next couple of weeks, because let’s face it – I have too many more things left on my Los Angeles summer bucket to throw in the (beach) towel now!
Summer dresses are more in full swing than ever before. Car windows are indefinitely rolled down. Pedicures are sandy beach scuffed. Hair & cheeks are perpetually breeze-blown and sun-kissed. Chilly smoothies are a daily affair, and Cafe Gratitude shakes a way too expensive, forbidden love affair.

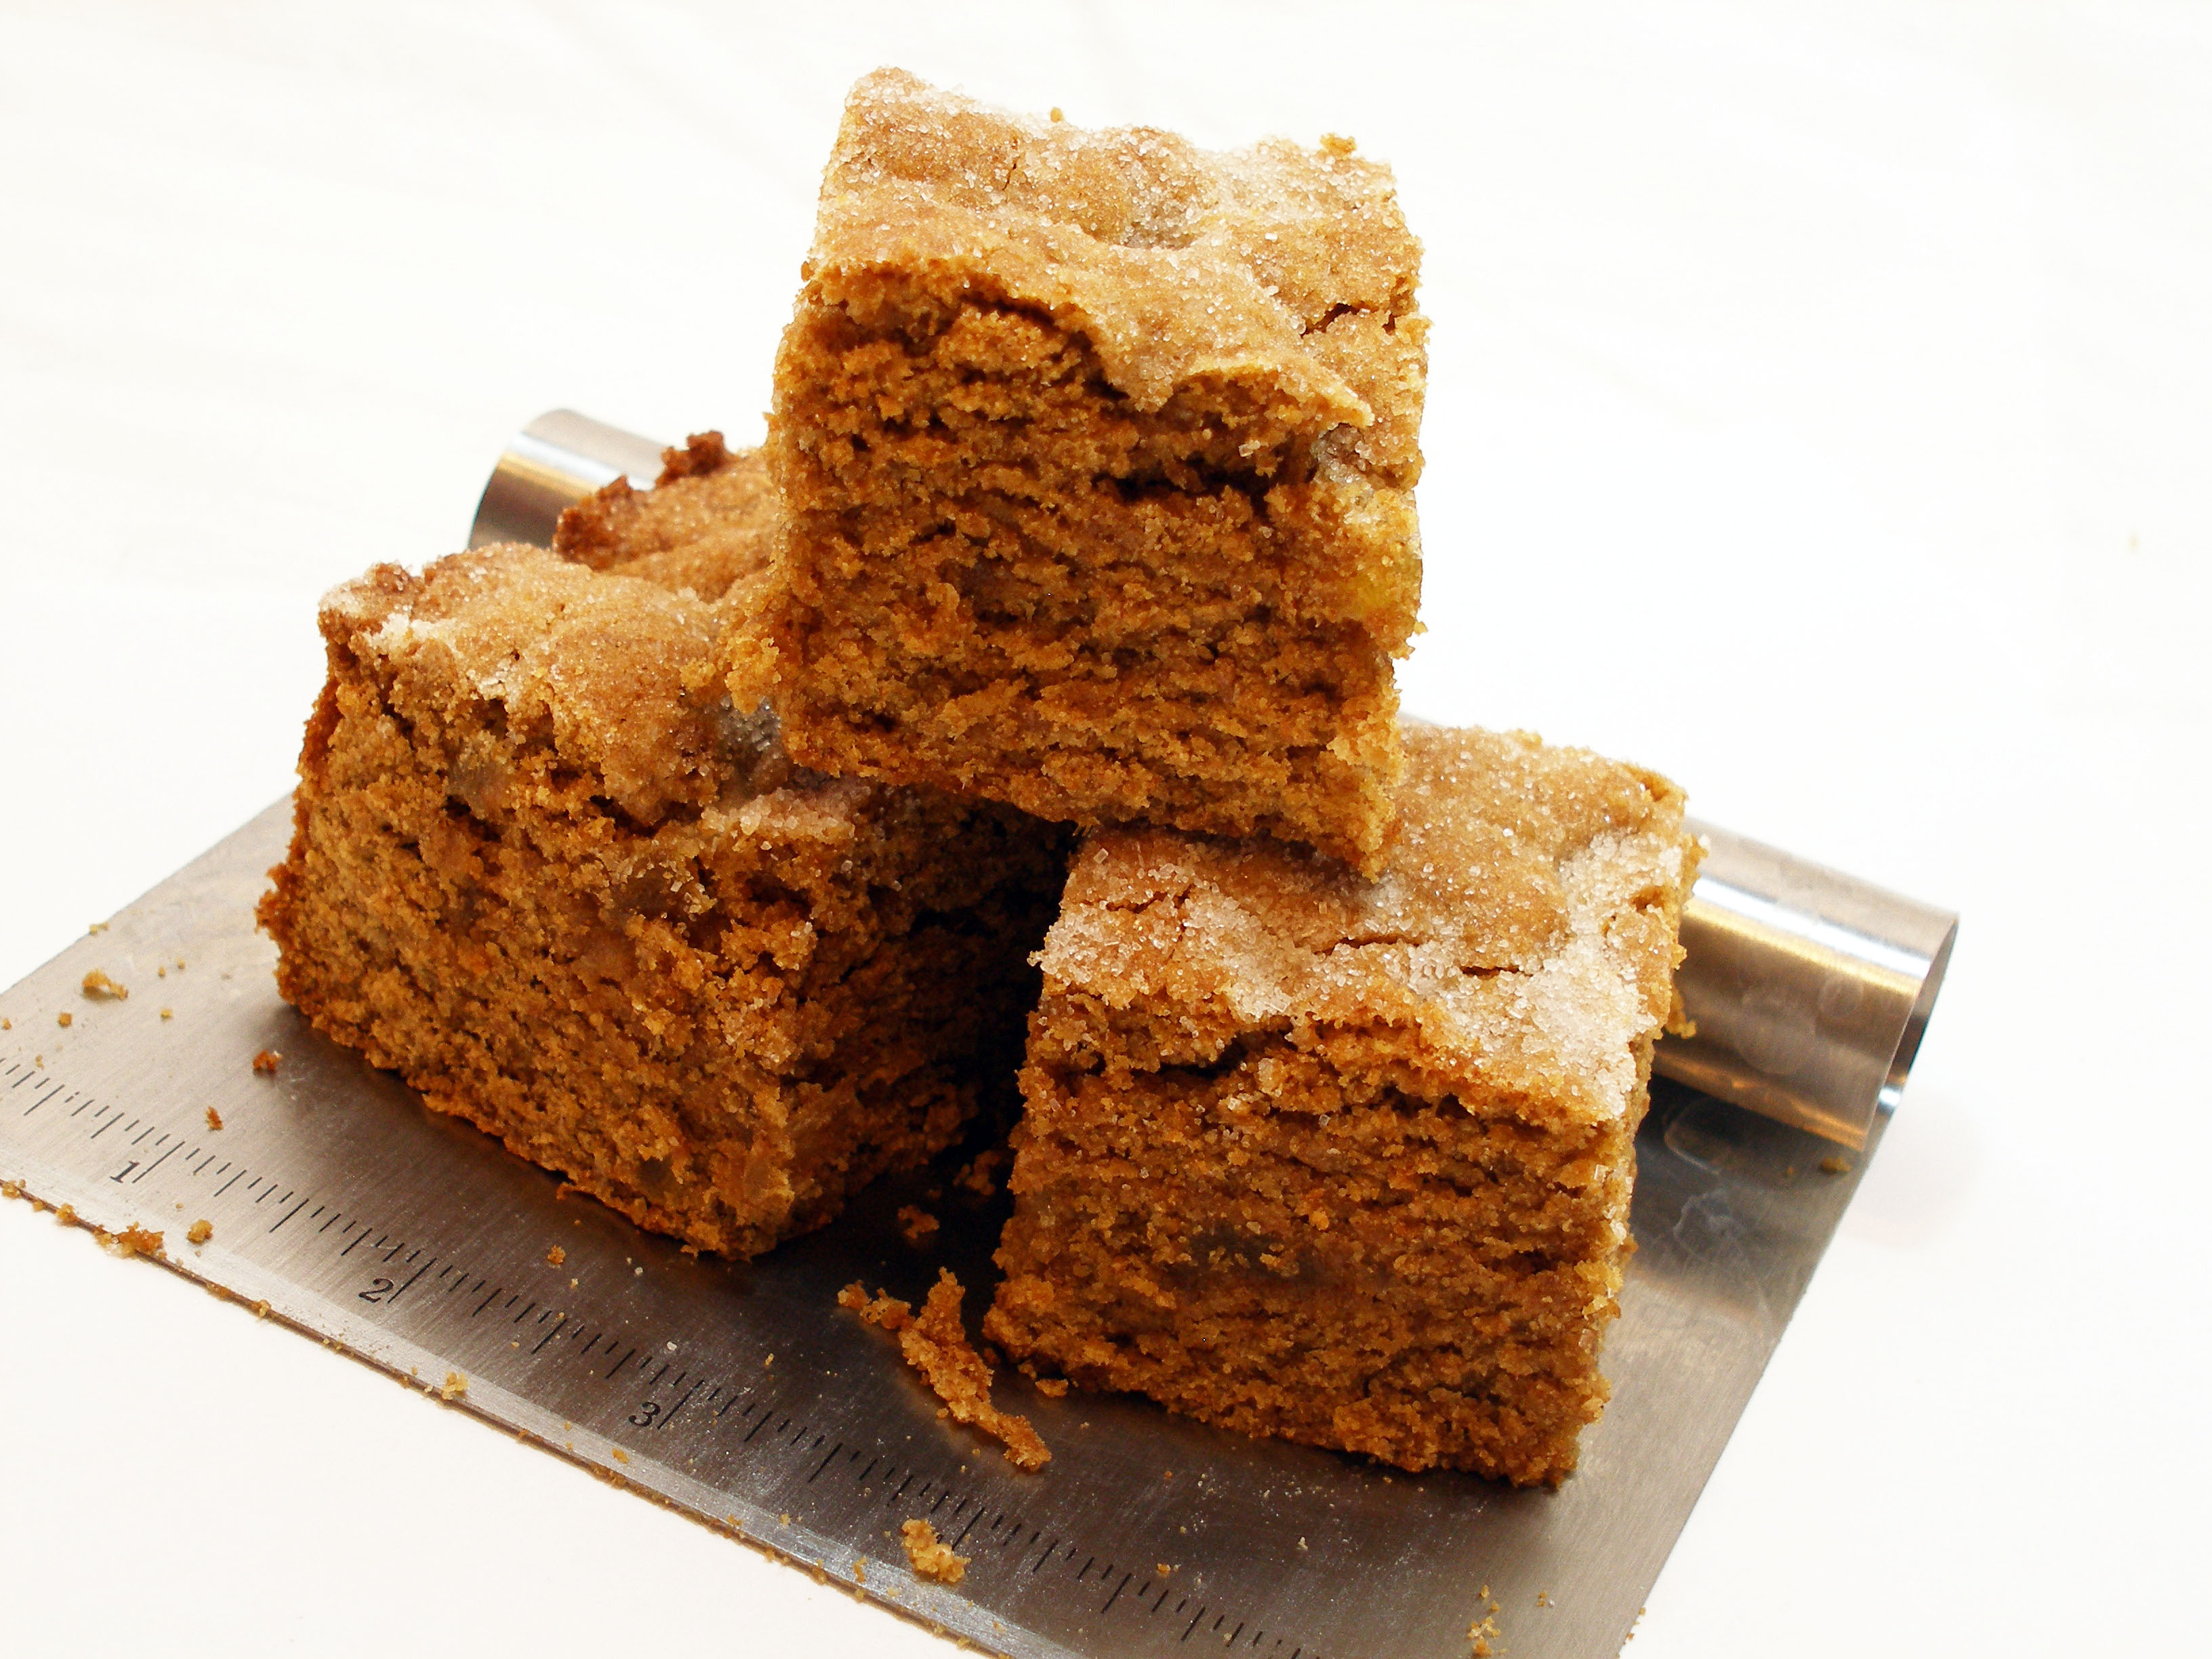
 Lemon Zest Sugar Cookies
(Adapted from my lime zest sugar cookies)
Tangy but sweet summer twist on the classic drop sugar cookie. Citrusy, refreshing, and perfect for the hot weather months. If you wanted to make a grapefruit version, we’d probably be best friends! 🙂
Ingredients
2Â 3/4 cups all purpose flour
1 tsp baking soda
1/2 tsp baking powder
1/2 tsp salt
1 cup non-dairy margarine (ex: Earth Balance)
1Â 1/2 cups granulated sugar
1 Tbsp ground flax seed mixed with 3 Tbsp water
1 egg
1 tsp vanilla extract
1 Tbsp non-dairy milk (ex: soymilk)
juice of 1 lemon
zest of 1 lemon
1/4 cup granulated sugar + zest of 1 lemon mixed, for rolling
Directions
Line a cookie sheet with parchment paper or a Silpat. Mix together the ground flax and water, set aside.
Cream together the margarine and sugar in the bowl of a stand mixer. Add the egg, flax and water mixture, and vanilla extract, lemon juice, and zest, and beat until fluffy.
In a separate bowl, sift together the flour, baking soda, baking powder, and salt. Slowly add dry mixture into wet, mixing between additions. Scrape down the sides of the bowl as necessary. If the dough is a little too dry, add in the non-dairy milk; if the dough looks ok at that point, feel free to omit.
Scoop dough out onto a piece of plastic wrap, wrap tightly, and put in freezer for about an hour or so. When ready to bake, preheat over to 350* F, and scoop dough into 2 Tbsp size chunks. Roll each into a ball with your hands, and roll in the sugar and zest mixture before placing on cookie sheet.
Back 8-10 minutes until edges are golden brown. Allow to rest on the pan a few minutes before using a spatula to transfer baked cookies to a cooling rack.


Everything is warmer. Everything is brighter. Love is lovier. Ice cream just tastes better dripping down your arm on the Santa Monica Boardwalk. Twinkling white lights are more charming strewn across a summertime porch. Laughter with friends is more therapeutic.
I wish I could press pause on life so that summer could live on well beyond September and into October…but I’ll settle for bike rides in Venice, and more sweet times to come as August lives on <3

My heart is happy when pretty things fill my weekends and I get to put pencil to paper to create. The more I do, the more I inspire myself to want to create, which I love!

 Skies are blue, and dreams really do come true…even on a Monday morning! 🙂
XOXO