It seems like a brother of mine just had a birthday, right? It seems like just yesterday I was concocting the impossible birthday cake request of one brother and here I am blabbing on about another brother birthday already! I know I only have two older brothers, but most days it seems like I have more. Like 10 more. And all of them like to “challenge” their sister with feats of birthday cake prowess worthy of a Just Desserts episode. Probably not just any episode either, more like the finale minus that whole dramatic centerpiece thingy. You know what I’m talking about.
Now, I know I’ve professed my undying love for Johnny Iuzzini on more than one occasion, but the last thing I want to be doing most days is competing, reality tv style, against myself, no less, for a reward that has nothing to do with a 5 page spread in Food & Wine magazine, or any amount of money furnished by Kitchenaid or whoever. I think I was being a bit generous when I implied my cake baking adventures could possibly result in anything remotely close to what could be construed as a reward, but I suppose it should be reward enough for me to see a birthday boy’s face light up with happiness and joy, right?
Meh, I could go either way.
Kiddingggg…There’s so much birthday love floating around here, it’s ridiculous! =)

While no snack-cake or hostess knock-off recipes were harmed in the making of this cake, it was still a fairly lofty request, as far as my cake making skills are concerned. I heard banana cake and was ok. Chocolate frosting, do-able. Whipped cream infused with banana flavor, with a thousand layers and made to look totally edible? Debatable. Wheels. Turning.
For some reason whenever I think bananas and whipped cream, I immediately imagine Southern-Style banana pudding, layered up with vanilla wafers and banana pudding in a pretty glass trifle! I’m no Southern Belle, nor will I ever qualify as such, but I have it in my head and heart that someday I may live in Louisiana at some point in my life just to take in the culture and atmosphere. Sweet tea? Absolutely! Whippy, dreamy banana desserts while getting lost in the Jazz-filled streets of New Orleans? Yes, please!
Snap back to reality, got it. But, I ran with that inspiration on this one, and added traditional vanilla wafers to the cake, yummy banana to pillowy whipped cream, and marshmallow dreaminess to rich chocolate buttercream frosting. I realize there’s a very real possibility that I’m horribly misrepresenting the South and Southern culture with all of this, in which case, infinite apologies!  I’m pretty much basing all of my imaginations on a few episodes of Hart of Dixie and a single visit to Georgia. =p
Banana Cake Recipe
(This turned out to be a dense, flavorful cake that I’m sure would make amazing banana bread, too! Layered up with lots of sweet, lightly banana flavored whipped cream, and topped with smooth, rich & creamy chocolate marshmallow buttercream frosting. Summer cake? Totally!)
Ingredients:
* 2 1/2 cups all-purpose flour
* 1 Tbsp baking soda
* 1/4 tsp salt
* 1/2 cup butter or margarine
* 1 cup white sugar
* 3/4 cup brown sugar
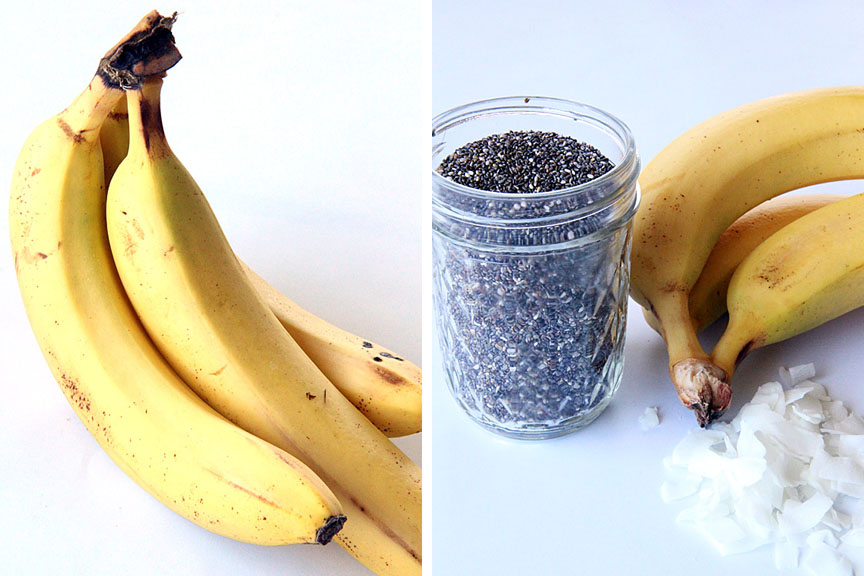
* 4 bananas
* 2 large eggs
* 2/3 cup heavy cream mixed with 1 tsp white vinegar
* 20 vanilla wafers
Directions:
Preheat oven to 350*F. Grease or line a 9×13″ casserole pan.
Mix 2/3 cup heavy cream with 1 tsp white vinegar and set aside. Cream together the butter, brown, and white sugar in the bowl of a stand mixer. Add the bananas and eggs, mixing well between each addition.
In a separate bowl, sift together the flour, baking soda, and salt.
Alternate adding the dry ingredients and the cream and vinegar mixture to wet mixture.  Mix until batter comes together.
Place a layer of vanilla wafers on half the bottom of the prepared casserole pan. Pour batter into the pan and bake for about 30 minutes, or until a toothpick inserted into the center of the cake comes out clean. Cover with foil if the cake is browning too quickly. Allow to cool in the pan for about 30 minutes, then run a knife around the edges of the pan and flip onto a cooling rack to finish cooling completely.


Banana Whipped Cream Recipe
Ingredients:
* 2 cups heavy cream
* 1/2 cup powdered sugar
* 1 banana, pureed
* 1 Tbsp vanilla extract
Directions:
Add 2 cups of cream to the bowl of a stand mixer. Beat on high until a soft whipped cream texture forms. Add the powdered sugar and mix until incorporated.
Puree the banana (I used a blender, but a food processor would work, too) and add it to the whipped cream along with the vanilla extract. Beat about a minute more on high until a thick whipped cream forms. Store in the fridge until ready to use.

 Once the whipped cream is made, cut the cake in half the short way using a serrated knife, so that each half measures 9×6.5″. Filet the cake horizontally to make 4 pieces of cake. Square off all 4 outside edges. I wanted a rectangular cake, so I trimmed some length off each end, resulting in 4 pieces like those below, measuring 9×4″.

Place the vanilla wafer studded layer on the bottom of a plate or cake stand. Layer with banana whipped cream.

Add the second layer, and banana whipped cream again!

Repeat steps 1 or 2 for layer 3…you get the idea by now!

Add the top layer, and voila! Sort of. Not quite done, but ready to be covered with plastic wrap or a cake container top and thrown in the fridge to firm up for about an hour.

In the mean time…
Chocolate Marshmallow Buttercream Frosting Recipe
Ingredients:
* 1/2 cup butter or margarine
* 3 cups powdered sugar
* 1/2 cup unsweetened cocoa powder
* 1/2 cup marshmallow cream
* 1 tsp vanilla extract
* dash of salt
Directions:
Add butter or margarine to the bowl of a stand mixer and beat until soft and whippy. Add the powdered sugar, 1 cup at a time, mixing between additions and scraping down the sides of the bowl with a spatula as necessary.
Add the vanilla extract and the cocoa, and then mix until combined, and gravely looking. Add in the marshmallow cream along with the salt and beat on high until fluffy. If the frosting seems too thick, add a bit more vanilla or a splash of milk. If it seems to thin for your taste, throw in a little more powdered sugar.

Once the cake is sufficiently chilly, frost away! I started on the top, but any way you feel is necessary to get frosting on that cake, I say go for it.


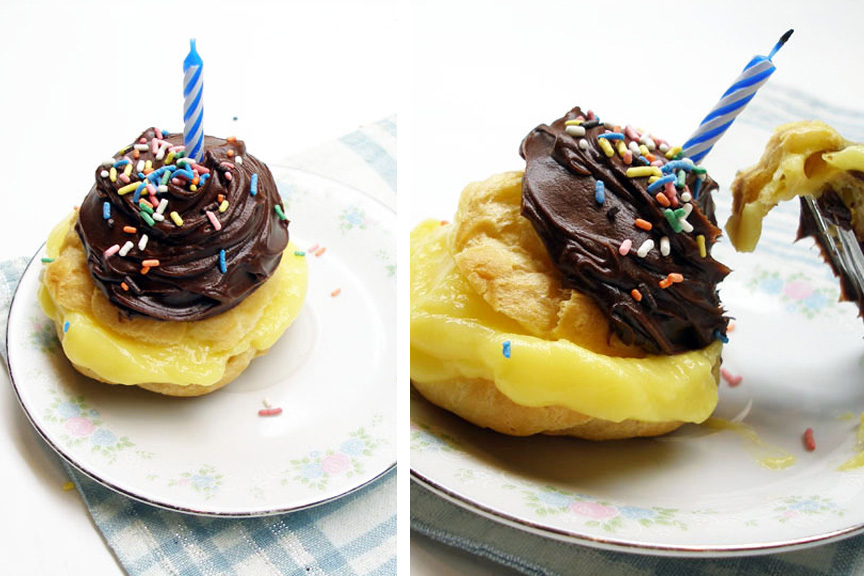
 I’m just throwing this out there. I hate to be the one to tell you this, but I’ve always been pretty honest, so there’s no going back now. These matches are a hoax. Strike anywhere? How about strike anywhere but the actual strike slip! Not a chance this was working. Ugh. Had to dig out the lighter for the candles on this puppy!

Dressed up and birthday ready. Awww =)

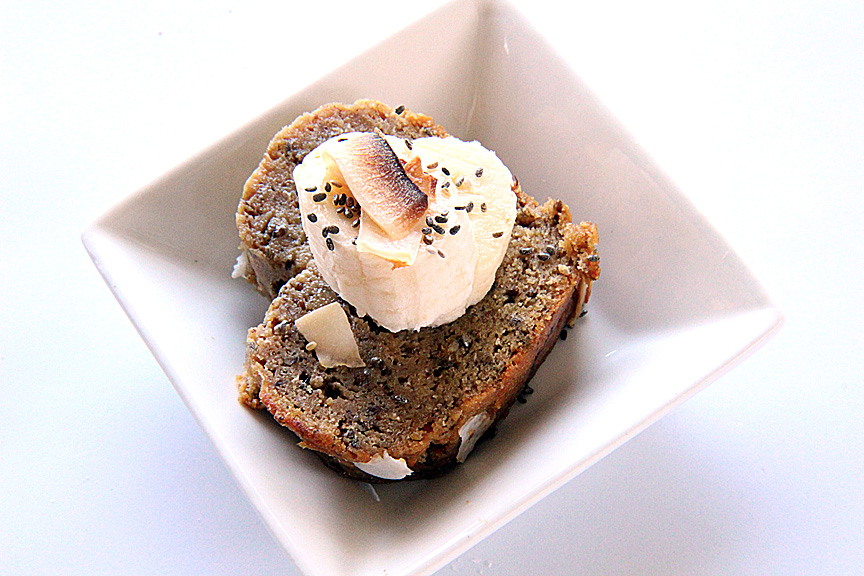
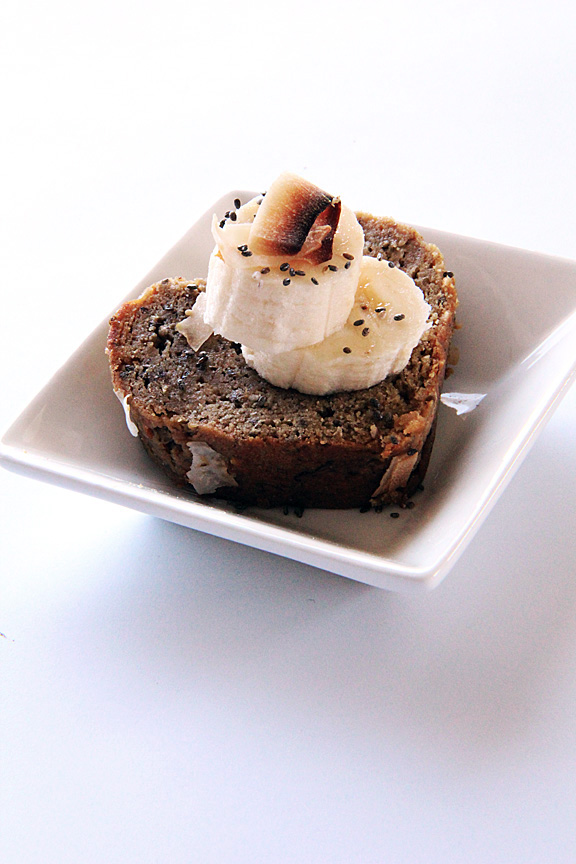
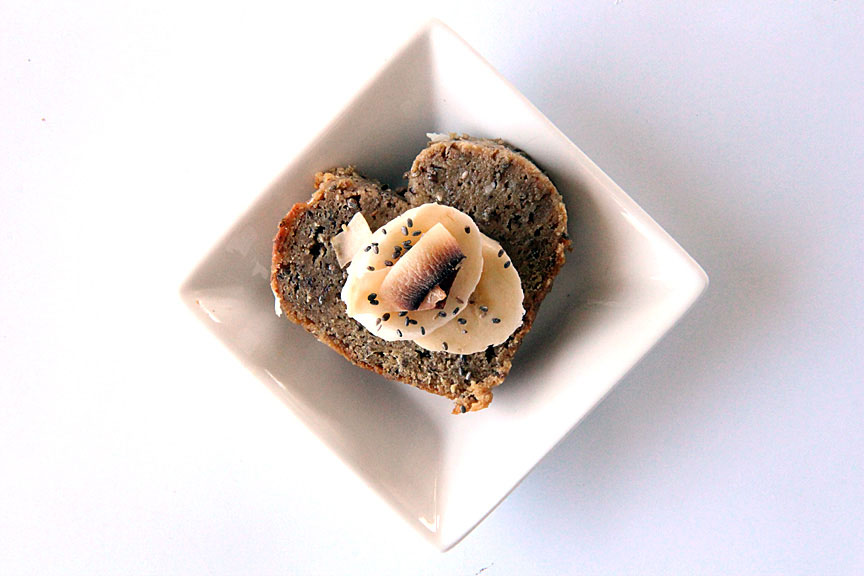
Served with Extraaaaaaa banana whipped cream and banana slices. Banana never looked so good. Except for the other times I used bananas and made awesome things, I mean! =D

Ok, so it wasn’t as “eventful” making this cake as the Hostess Cupcake Birthday cake, but I guess the birthday boy was sorta pleased or whatever with the result of his request because he raved about it for days. Literally. Anyone who touched leftovers was practically eligible for punishment by death or dismemberment.
Typical.
Happy Birthday, oldest of older brothers!
Tags: Banana Cake, Banana Whipped Cream, Bananas, Birthday, Birthday Cake, Chocolate Frosting, Fruit, Layer Cake, Recipe, Southern Style Banana Pudding, Vanilla Wafers